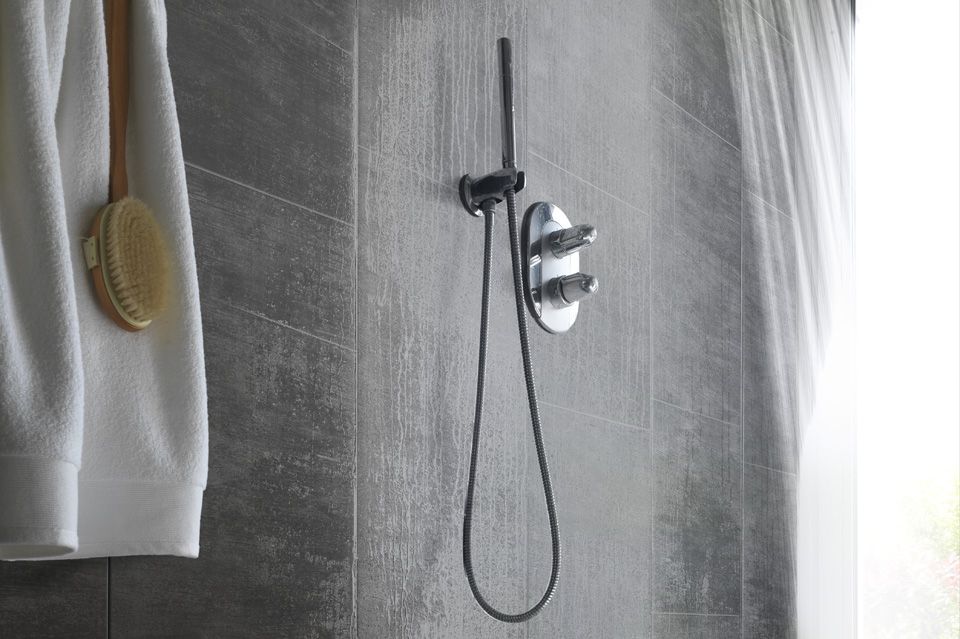
Shower compartments: vinyl cladding, an alternative to tiling

Fancy rejuvenating your bathroom? What do you think of a waterproof, attractive, practical solution that has the advantage of being easy to install? Well that’s what you get with decorative vinyl cladding. In the blink of an eye, your shower compartment can get a complete makeover...
The benefits of vinyl cladding
The first major advantage of vinyl is that it’s quick and simple to install. It adapts to all types of materials (gypsum plaster board, painted surfaces, wood, tiles, plaster) and can be installed in just a few hours. When it comes to design, vinyl offers a wide range of decorative possibilities. Are you looking for a Zen bathroom, with a natural mineral style? Or do you prefer an ‘industrial’ style? From wood textures to concrete, marble to plain white, this cladding opens up a variety of possibilities. And the effect is surprising! Both visually pleasing and pleasant to the touch, it takes on the exact properties of the materials it imitates. Perfectly sealed, it also has the advantage of being easy to maintain: all you need is a soft cloth and a little soapy water!
Equipment necessary for installation
Are you already imagining yourself running to the DIY shop? Well, no, not this time! Here, you just need a professional toolbox. The vinyl cladding, which comes in the form of slates, only requires you to have basic equipment: a pencil, a spirit level, a measuring tape, a ruler, and a cutter. Depending on how you decide to put it up, add to the list a glue gun, a screwdriver or a stapler. And if you opt for a glued installation, you can use glue in a tube or a ready to use double-sided foam tape.
Installation stages
Whether you’re an experienced handyman or beginner, everyone can afford to have a go. The first thing to do is choose the direction of your slates. Would you rather have them vertical or horizontal? Then, position the back of the finishing profiles around the perimeter of your shower enclosure. Locate your measuring tape, measure your walls, cut the 1st slate to the desired length and dimension the male part. Depending on the installation mode selected (use of battens or installed directly on the wall - glued, stuck, screwed, nailed or stapled) place the slate against the surface and check with your level that it is square. Then install the other slates using the first as a guide. Repeat over all the walls of your compartment. Finally, install the surface in front of the finishing profiles, taking care to add a strip of silicone on the edge of the walls to seal it all in. And there you go, it's finished!
Pay attention, however, because depending on the model of vinyl cladding chosen, you’ll need to check the installation instructions to comply with how to seal the product!


